Today's mixed media artwork and tutorial was inspired by one of the vintage keys in my collection.
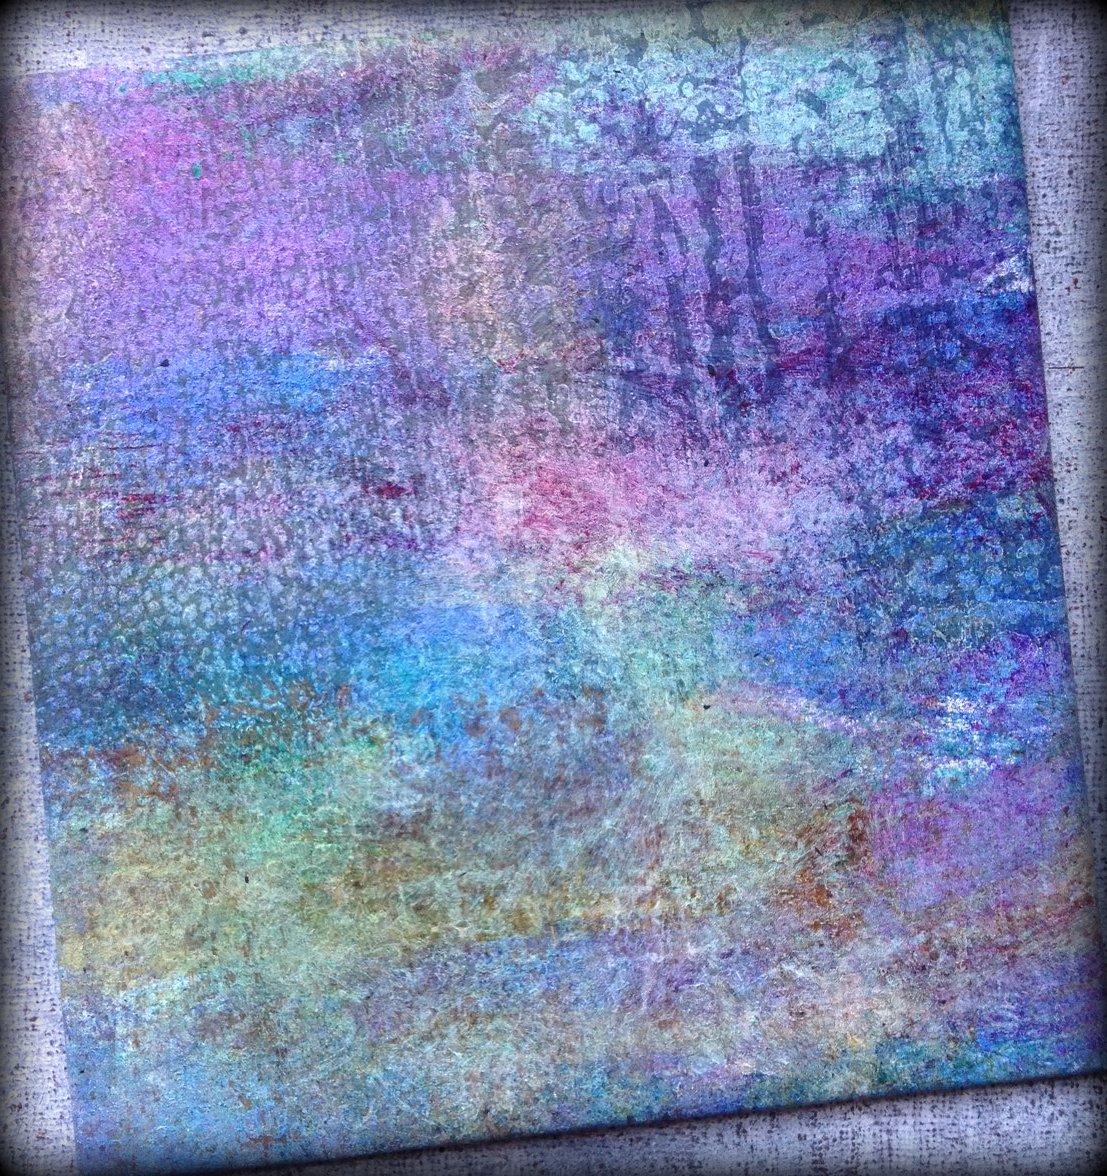
I started out by choosing some hand painted paper that I had previously made using pages from a vintage French dictionary as the substrate.
I have been noticing nailhead design everywhere and wanted to capture the look for this piece. I knew I wanted to use metallic brads to do this.
I looked through my supply of the newly released Spellbinders dies and found the perfect fit: Pearl Effects. I cut a piece of my hand painted paper using a die from the set.
I dug through more hand painted watercolor papers and found a darker piece that I knew would contrast well with the light amber paper I had already chosen. I cut the darker paper with a die from the A2 Curved Matting Basics B set.
Then I started glueing.
Using an awl, I punched small holes through each open circle at the edge of the paper and inserted the brads though each hole, matching the size of the brad with the size of the open circle.
Got the nailhead look I wanted.
This is what the flip side of the piece looked like with all the brad prongs folded down.
Knowing that I wanted to attach this piece to another layer and realizing that the prongs would make glueing difficult, I added a small piece of book board to the center area. That way, I could easily glue the piece to another substrate and add some dimensional life at the same time.
I cut a piece of metal foil using a smaller die from the A2 Curved Matting Basics B set.
I knew I wanted to add texture to this piece and found the perfect match for this artwork: Spellbinders new Keys Texture Plate. I ran these through the Artisan X-plorer machine to add the embossed detail.
I just loved how deep the embossing is with this technique.
I added more depth and texture to this piece by rubbing a black solvent ink pad over the surface and around the edges using a craft sponge.
Using the A2 Curved Matting Basics B set one more time, I cut a slightly larger piece of black card stock and edged it with a gold metallic ink pad.
More glueing.
I looked through my stash of loose vintage book covers and found one that I thought would be the perfect base layer for the piece. Using a guillotine cutter, I cut it to size. I distressed the edges using sandpaper.
Now comes the fun part. I put together all the layers using adhesive to create my finished piece: The Key.
----------------------------
Spellbinders Paper Art Supplies:
MMM-001 Spellbinders®
Artisan X-plorer
MT1-009 Spellbinders®
Keys Texture Plate
S5-172 Spellbinders®
Nestabilities® A2 Curved Matting Basics B
S5-194 Spellbinders®
Nestabilities® Pearl Effects
F-102 Spellbinders®
Precious Metals Premium Craft Foils
Preferred Promotional Partners:
Tsukineko StazOn Ink Pad,
Tsukineko Delicata Ink Pad, Imagine Crafts Inkblushers Sponge
Other: card stock, book board, vintage book cover, hand painted paper (watercolor paper, vintage dictionary page, gesso, acrylic paint, acrylic medium, ink), vintage key, brads, adhesive, sandpaper, awl, guillotine cutter