Showing posts with label Baked Texture. Show all posts

Thursday, September 6, 2018

The Bakery: 5

It has been so exciting to see what all you creative people out there are doing with Baked Texture, my new embossing powder for artists from Emerald Creek. My hope with these powders was that people would find non-traditional ways to use them. And you haven't disappointed.

Linda Cain is an absolute magician and alchemist with Baked Texture. Among her many creations are embellishments which ultimately find a home in her artwork. Take a look and be amazed....

I'd swear that these were old metal pieces rather than chipboard covered by Linda with Baked Texture. She used Ancient Amber, Deep Sea and Patina Oxide.

And look at what she has done with Vintage Beeswax.

Here she has mixed Patina Oxide and Chunky Rust

These beads were first painted with my PaperArtsy paints in Midnight, Terracotta and Mahogany, then rolled in ink and covered with a variety of Baked Texture.

A blend of my PaperArtsy Fresco Finish Chalk Acrylics and Baked Textures.

Clearly Linda is a master at pumping up the volume by using Baked Texture on embellishments. But she is also a whiz at... 

...creating surface texture with Baked Texture, mixing Dirty Sand with micro beads and glass glitter...

...traditional stamp effects, here using Chunky Rust.

And here is one more...just because!

If you liked what you saw, head over to visit Linda at her blog and tell her Seth sent ya!
SaveSave

Thursday, August 30, 2018

EC BT EP week at PA

Last week was EC BT EP week at PA. That translates to a week of guest artists postings on the PaperArtsy blog sharing artwork and techniques using my Baked Texture embossing powders from Emerald Creek.


The week started off with an introductory post, which included three demonstration videos and some examples of artwork made with the different powders - including this incredible piece made by Barbarayaya


A different artist and technique was then featured on all the subsequent posts. Click over for details. step-outs, techniques and many more pictures.

Day 1

Day 2

Day 3

Day 4

Day 5

Day 6

Day 7

Day 8 

Day 9

Monday, August 6, 2018

Baked Texture Skins

There are so many techniques that can be applied to my Baked Texture embossing powders from Emerald Creek and I am learning more and more everyday. Sometimes I find new approaches online, shared by another artist using the powders. Sometimes it is through my own experimentation.

Today, while attempting an idea that was an epic fail, I ended up creating Baked Texture skins. So simple and so cool. Just follow the recipe below.


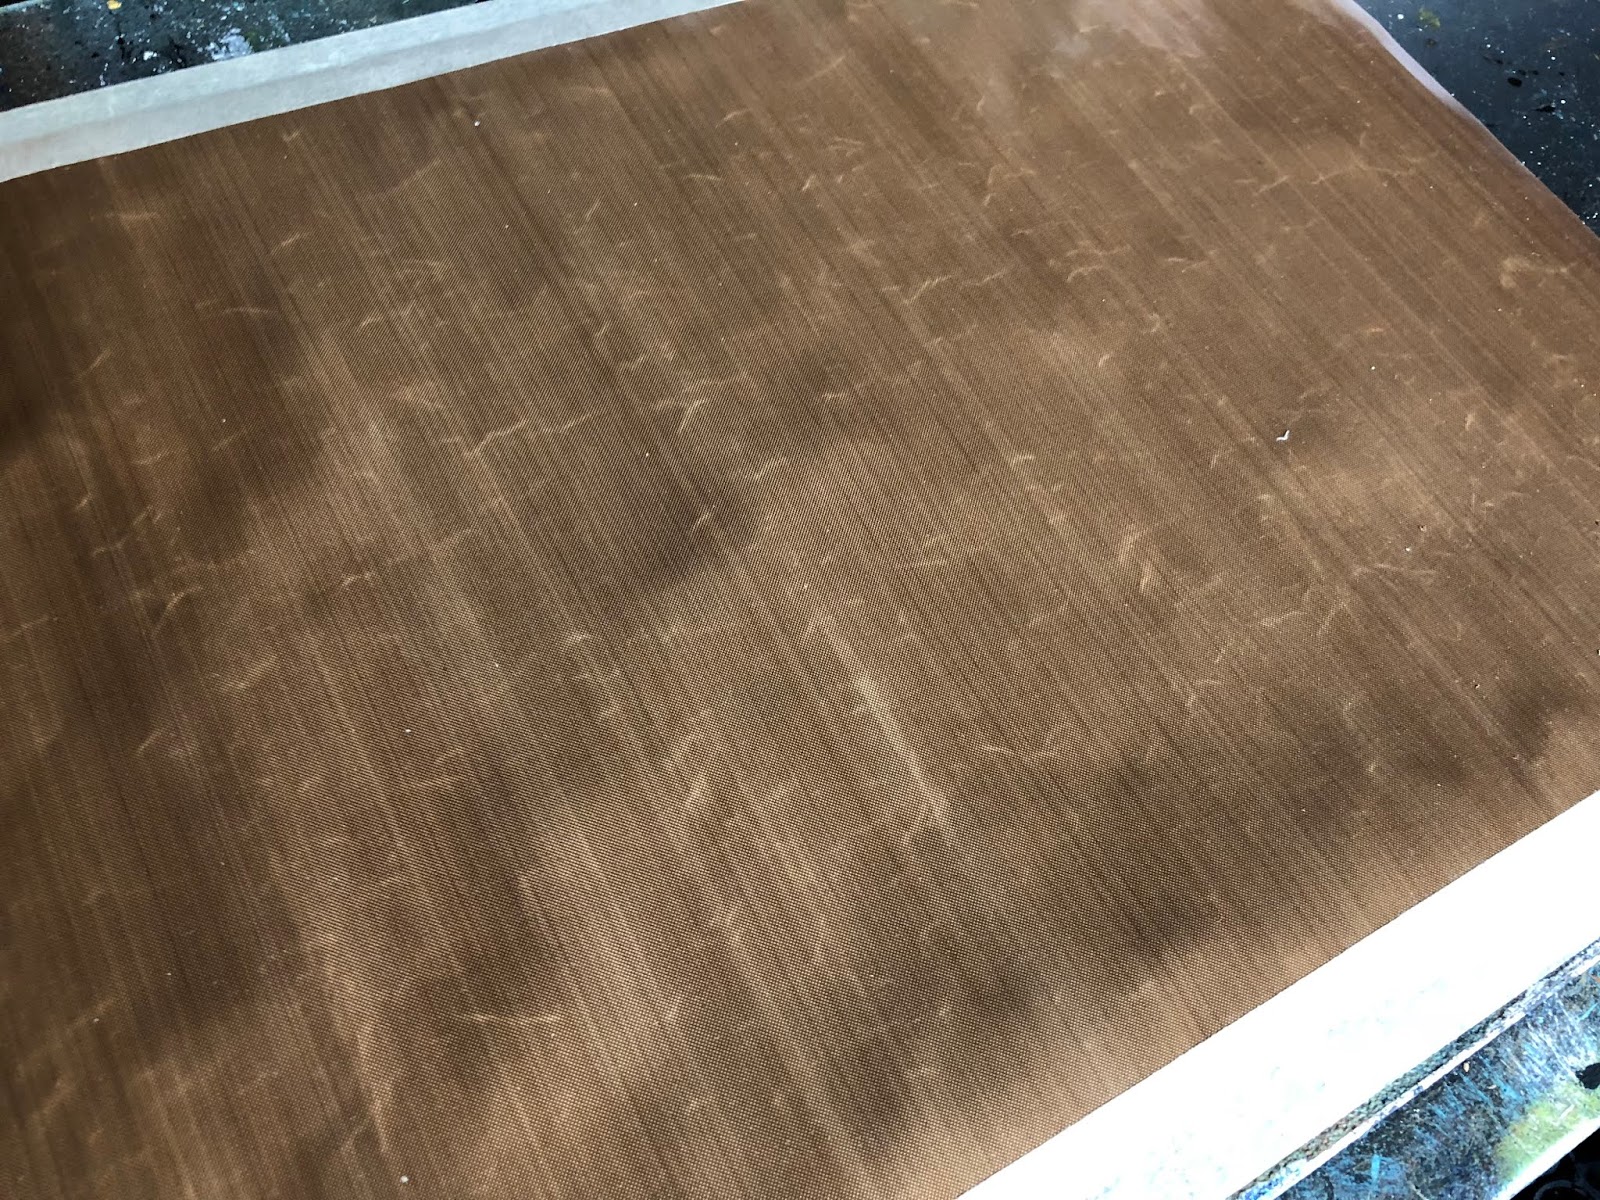
Start with a non-stick, teflon craft mat. Pretty sure that 99% of you peeps have one (or more). My mat is taped to a moveable glass board. 


Swipe an embossing pad across a section of the pad in the size that you want your skin. If you are using this technique for layering, it works best with a translucent embossing powder. I chose Vintage Beeswax


Pour the powder over the sticky section and tap off the excess. Because my mat is taped to the glass board, it is easy for me to tip the whole contraption. Of course you are going to pour the excess back into the jar for next time. Melt the powder with a heat tool and resist the urge to touch the hot, molten skin.


In order to get the skin fully made, repeat these steps two more times. So once cool, swipe the skin again with your embossing pad. Add more Vintage Beeswax and tap off the excess. Heat it and watch the magic happen. Doing this three times gives you a sturdy skin.


Peel off and voila. Notice that there are several holes and a bit of a feathering at the end. I think this makes the skin more natural but you can always add extra powder and melt again if you prefer a smoother surface.


I chose to print out a photo of a book page I recently made and sized it to match the dimensions of the skin.


Laying the skin over the piece adds dimension, texture, shadowing, depth and a bespoke, vintage touch.


I attached the skin to the paper using brads - and sandwiched thin beads in between for added interest. I also stamped the word Ethereal, from my new Impression Obsession Journal Jargon 5 stamp set, and slipped it under the skin for an extra detail. I adhered this to a slice of watercolor paper that was painted and embossed with my Patina Oxide Baked Texture.

Ethereal
(sold. thank you)

Wednesday, August 1, 2018

NEW: The Beehive


Vintage Beeswax Baked Texture from Emerald Creek is a translucent blend of clear & multi-toned yellow and brown powders which, when heated, fuse together to add an antiqued look to any surface. Of the 7 embossing powder flavors that made up our first release, this is the "clear" best seller. 


With multiple layers of full surface coverage, Vintage Beeswax creates a faux encaustic look. 


This technique requires more applications than is typical for traditional embossing powders. As a result, people kept asking for a larger jar of VB. 

Ask and you shall receive. The beehive: 120grams of Baked Texture heaven. More than 7 times the size of the original jar. 


Available now from many of your favorite online and brick & mortar art/craft shops. Or simply head to my online shop where the shelves are filled with the new large jar...and the originals.


Sunday, June 24, 2018

The Must List


Sending big thanks out to Canada's Creative Scrapbooker magazine who has included my Baked Texture embossing powders from Emerald Creek on their Must List in their Summer 2018 issue.


This gorgeous piece of art, made using Baked Texture, from Gwen Lafleur was featured as well.


Sunday, June 10, 2018

The Bakery: 4

Grab some popcorn -- and your heat tool. It's movie time...

Barbara from Joggles shares a wonderful video, reviewing the different powders and sharing both tips and techniques to create multiple effects using Baked Texture. You are going to want to watch this one.


Heather Tracy hits it out of the ballpark once again with her video highlighting elegant grunge using Baked Texture and stamps.


Barb Owen from How to Get Creative shares a long video (2 ½ hours+) experimenting with Baked Texture and other embossing powders from Emerald Creek. Her creative play begins at about the 36 minute mark and she shows step-by-step how the powders look on different backgrounds and with different application methods.


Sara Naumann shares a Facebook video in which she shows several embossing techniques to add Baked Texture effects to cards. But the process would work with any mixed media application equally well. She also includes step-by-step instruction in her blog post as well.


In this video, Peg Robinson demonstrates how she uses Baked Texture to add details and texture to her handmade, homemade clock. She has thrown in some of my stencils from StencilGirl Products too.

SaveSave
SaveSave

Tuesday, April 24, 2018

The Bakery: 3

It has been so exciting to see what all you creative people out there are doing with Baked Texture, my new embossing powder for artists from Emerald Creek. My hope with these powders was that people would find non-traditional ways to use them. And you haven't disappointed. Here are some of the beauties I have come across online this week. Click each link to see more...


Jenny used Chunky Rust to create this textural tag. And in the technique video that follows, she shows how to use Tim Holtz's new Distress Resist Spray to create the effect.


--------------------------


Autumn used a variety of products to achieve this rusty surface, including Chunky Rust Baked Texture on the doily underneath her flowers.


--------------------------


Patricia added both Ancient Amber and Vintage Beeswax into the background of this incredible Mixed media piece. 


--------------------------


Linda created the most beautiful surfaces on a series of tags using Vintage Beeswax, Ancient Amber, Patina Oxide, Chunky Rust and Rocky Road.


--------------------------


Nikki used Patina Oxide Baked Texture to create a textural and dimensional frame around the edge of this rusty and crusty piece.


--------------------------


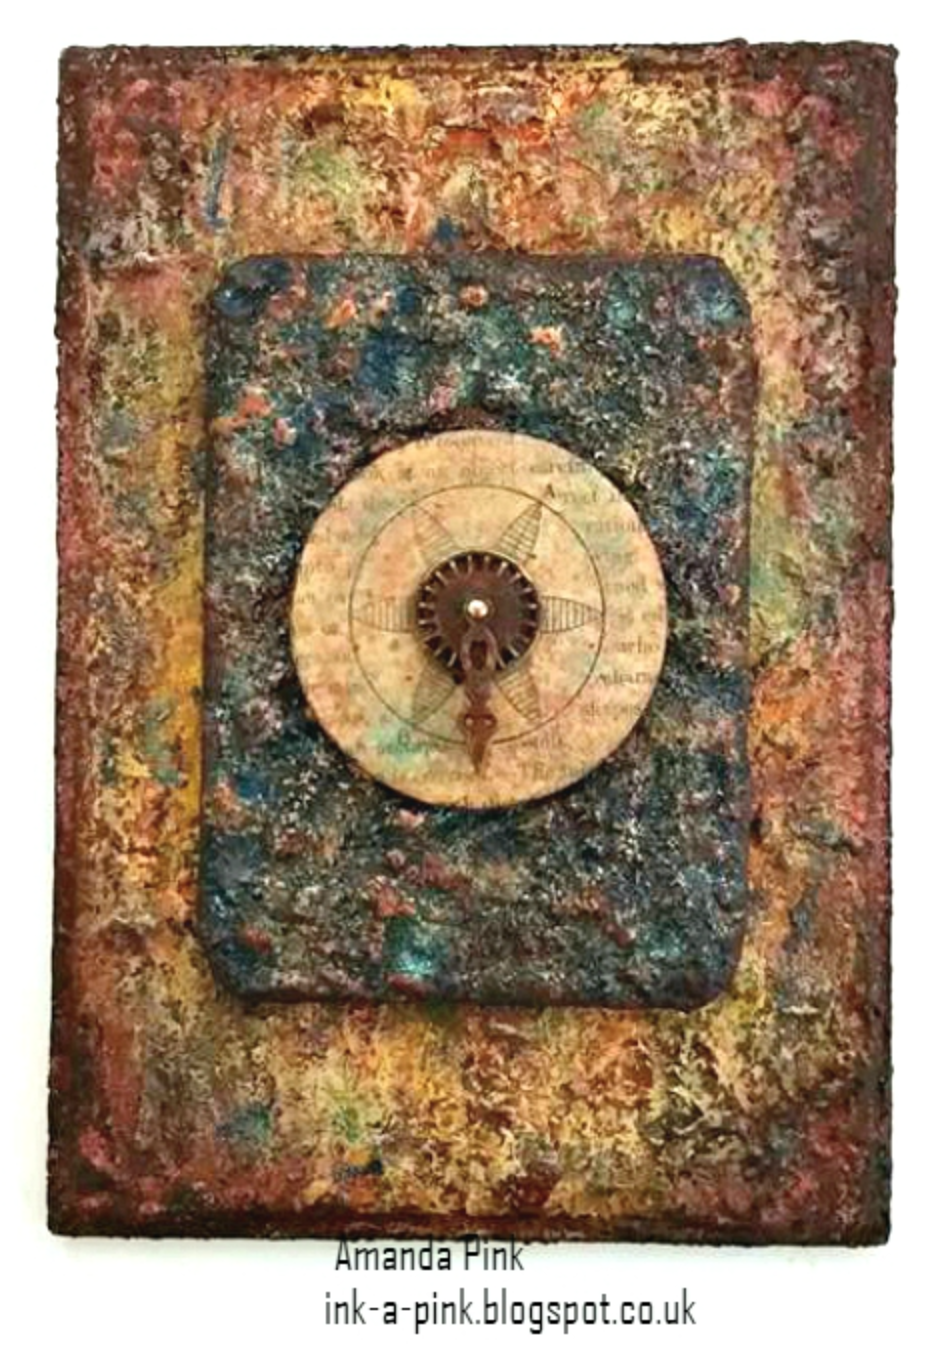
Have a look at this dimensional, textural, and layered background that Amanda created with Patina Oxide, Deep Sea, Ancient Amber, Dirty Sand and Chunky Rust. 


She also used Vintage Beeswax on the center circle focal point.

SaveSave